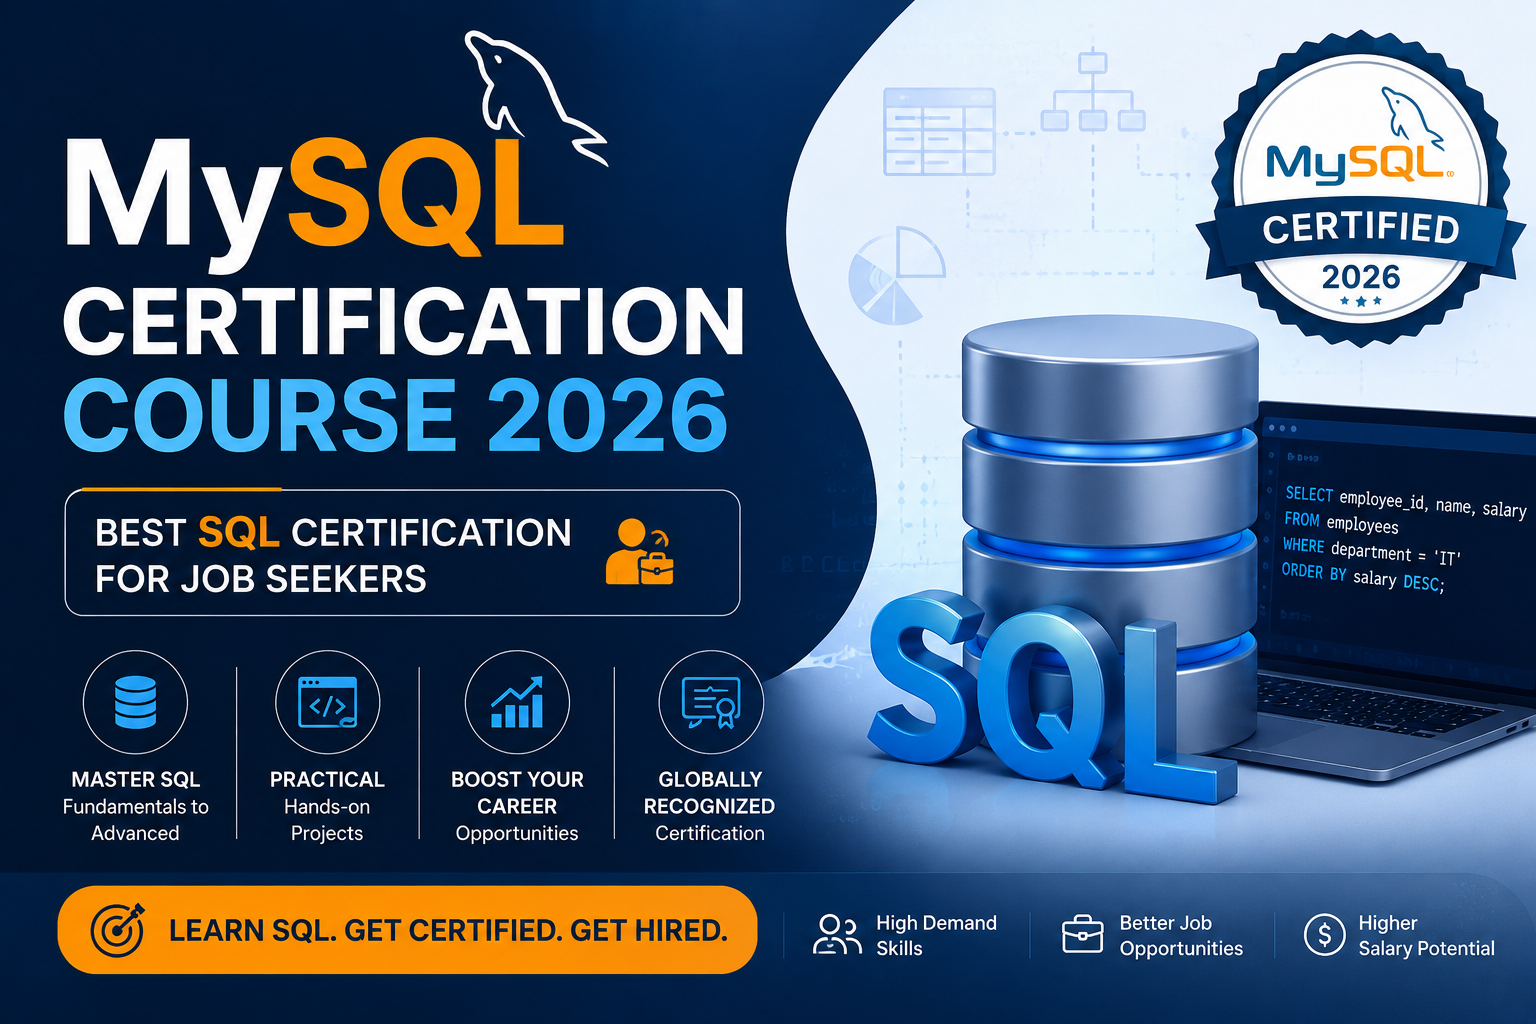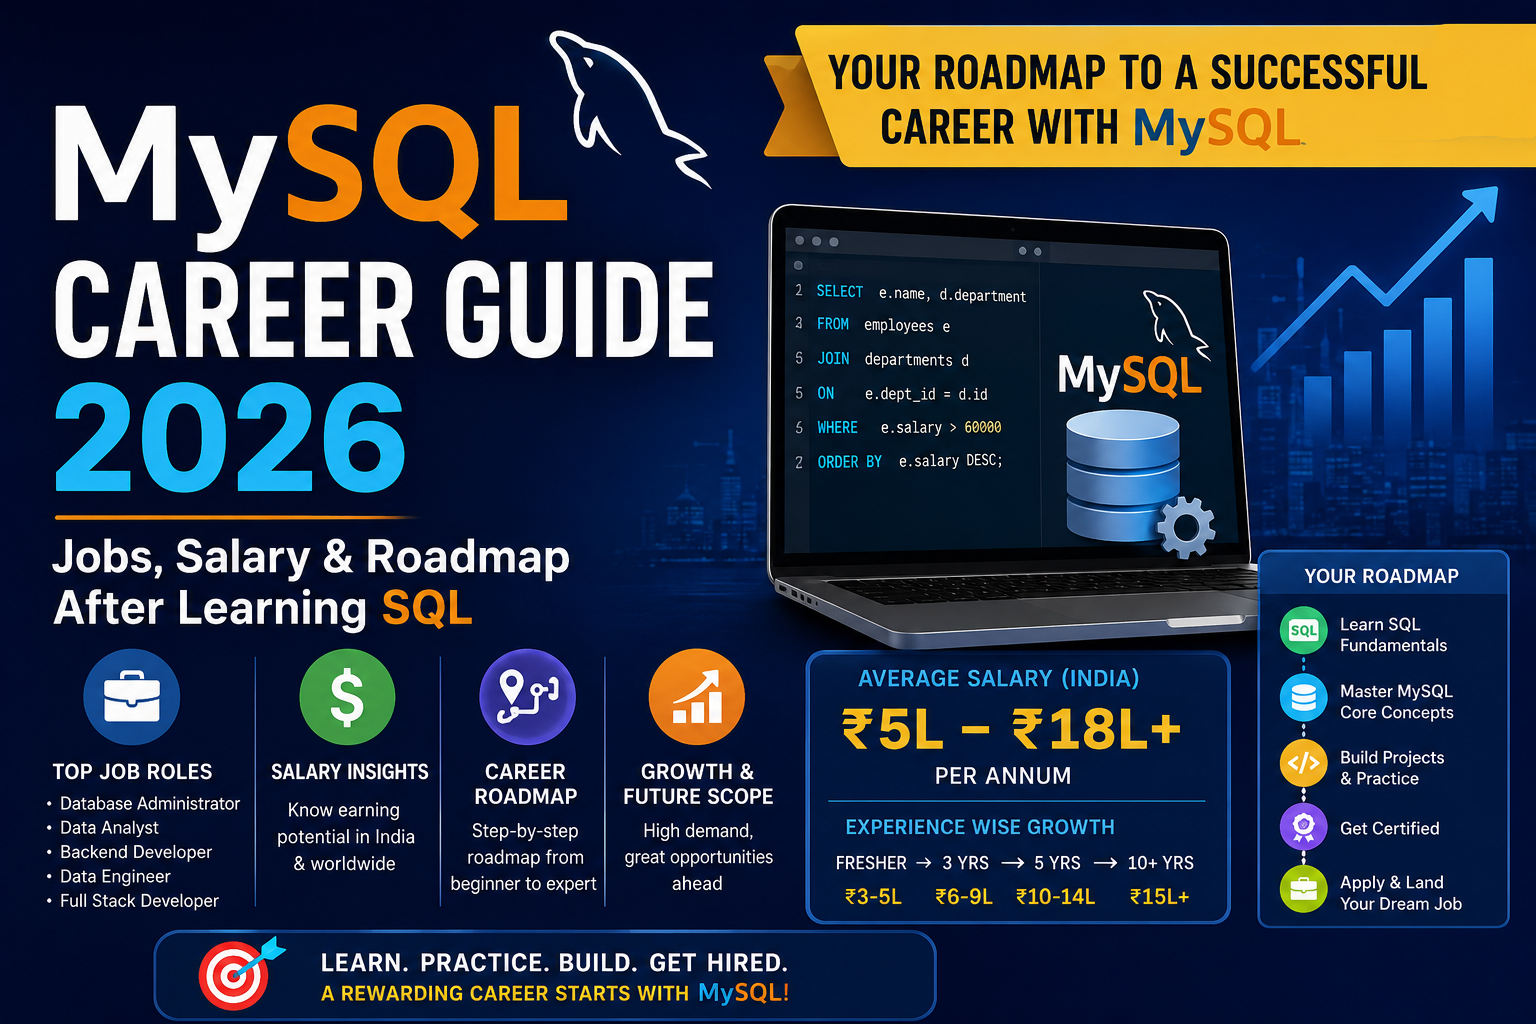
MySQL Career Guide 2026 | Jobs, Salary & Roadmap After Learning SQL
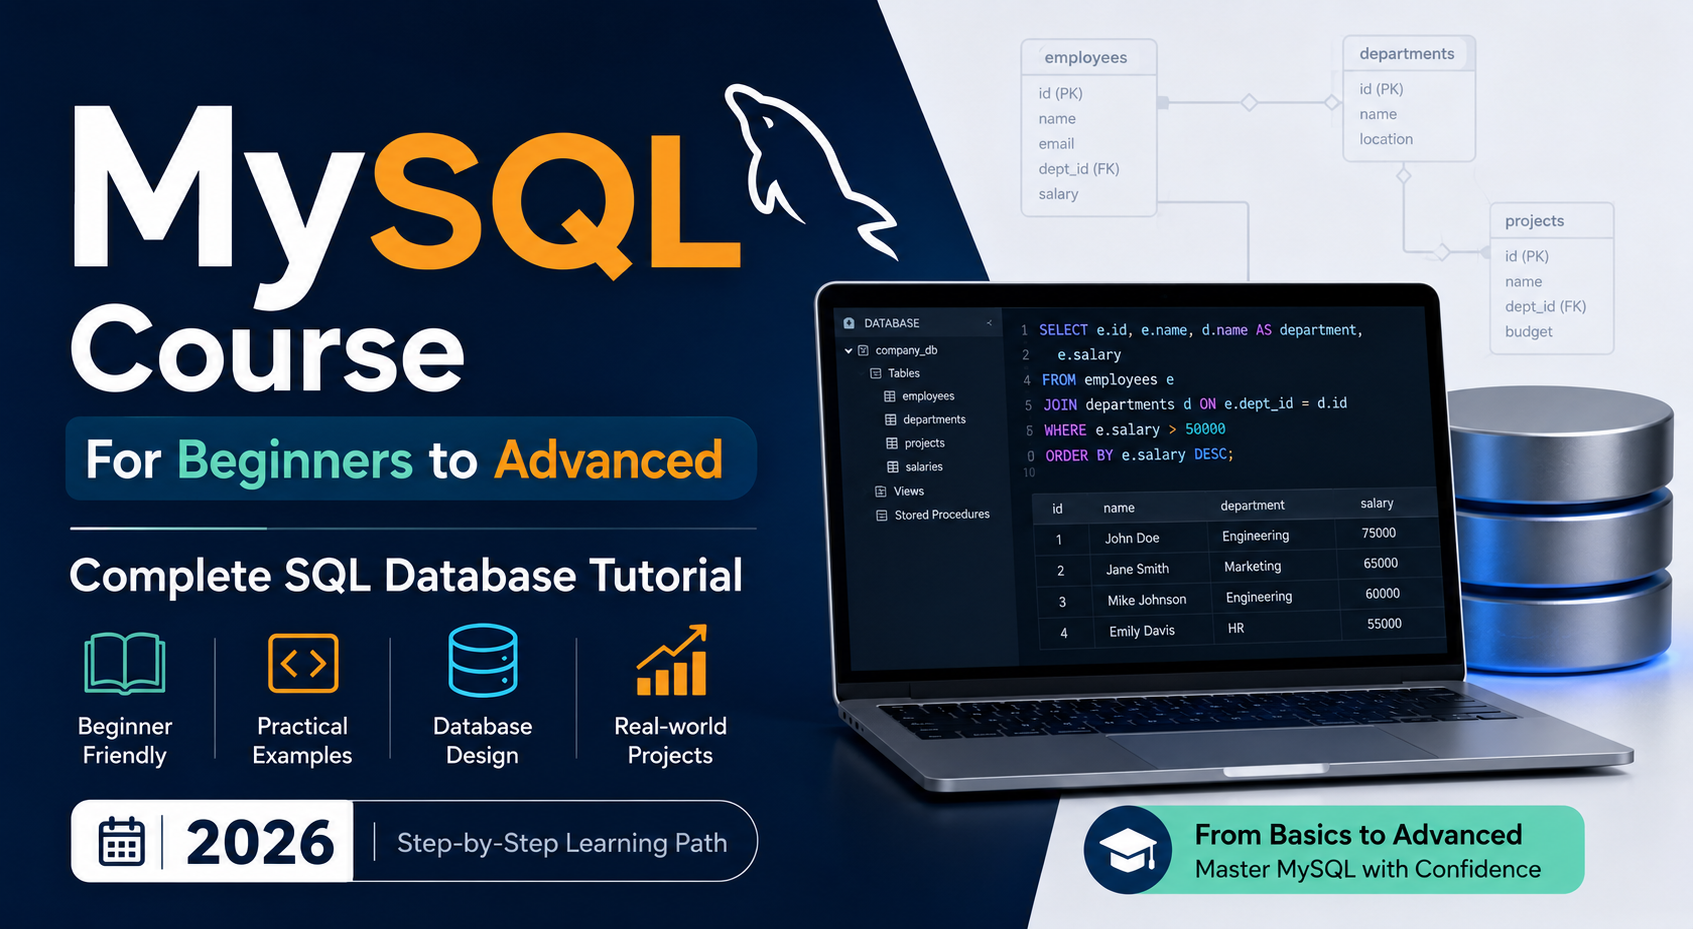
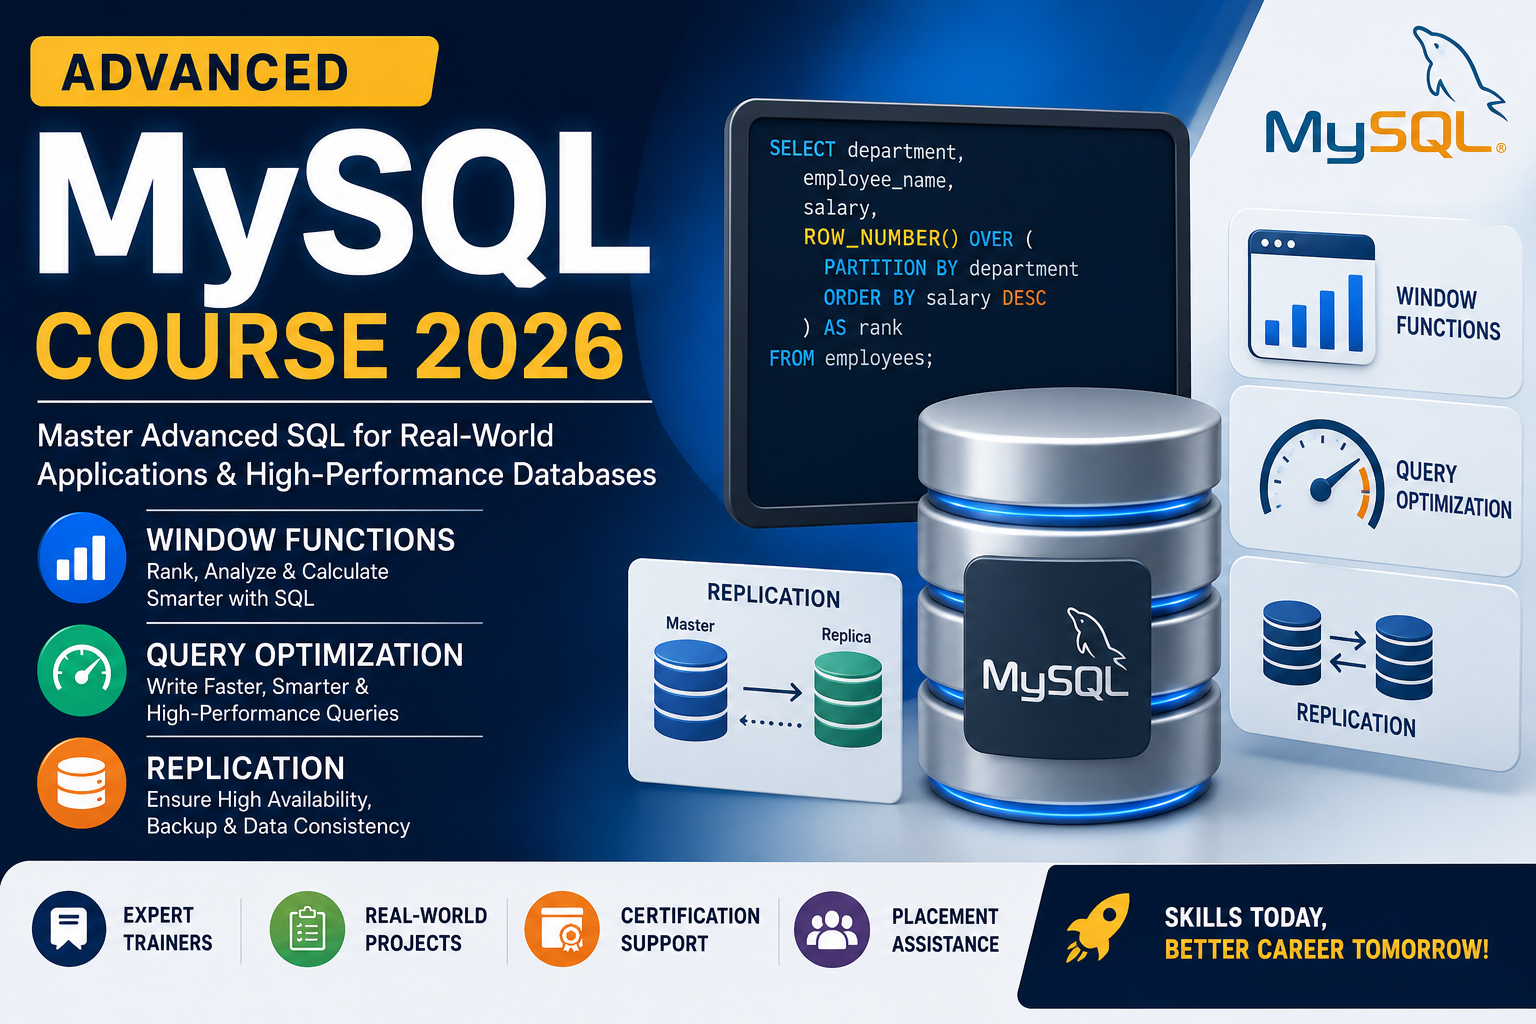
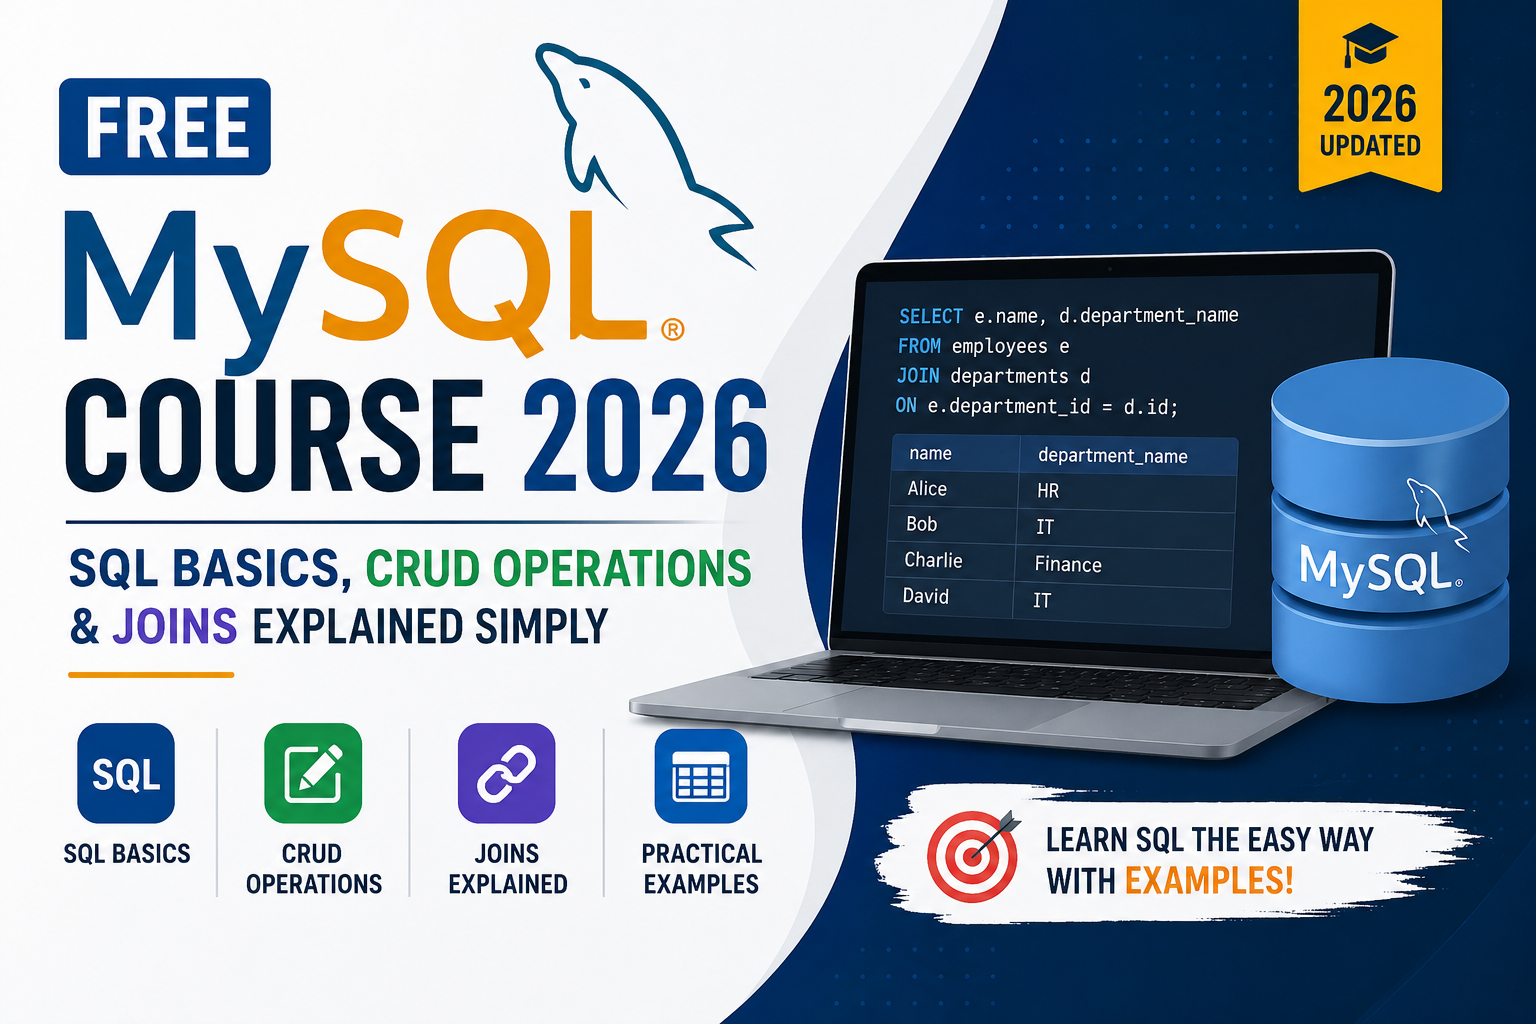
One question comes up constantly among students and freshers who have started learning MySQL: what actually happens after you learn it? What jobs are available, what do they pay, and what is the realistic path from learning SQL to getting hired? This guide answers all of that directly. No vague promises — just a clear picture of the MySQL job market in India in 2026, the roles available at different experience levels, salary expectations, and a practical roadmap for getting from where you are now to where you want to be. If you are in Lucknow and want structured training that takes you through this entire path with placement support, Aptech Learning Lucknow is built precisely for that purpose. Why MySQL skills lead to real jobs in 2026 MySQL is not a niche skill. It is infrastructure. Every company that builds a web application, manages customer data, runs an e-commerce platform, or does any kind of data analysis needs people who understand relational databases. In India alone, thousands of job postings on LinkedIn, Naukri, and Indeed list MySQL as a required or preferred skill every single month. What makes MySQL particularly valuable as a career skill is its versatility. It is not tied to one job title or one industry. SQL knowledge is required in backend development, data analysis, database administration, data engineering, and even in business analyst roles where querying data is part of the daily work. Learning MySQL does not just open one door — it opens several simultaneously. Top career paths after learning MySQL Here is a clear breakdown of the main roles available to someone with solid MySQL skills, from entry level to senior: Job Role Core Skills Required Experience Level Avg. Salary India SQL Developer Queries, joins, stored procedures, views Fresher to 2 years ₹3.5 – ₹7 LPA Backend Developer MySQL + PHP or Python or Node.js Fresher to 3 years ₹4 – ₹10 LPA Data Analyst MySQL + Excel + Power BI or Tableau Fresher to 3 years ₹3.5 – ₹9 LPA Database Administrator (DBA) Indexing, backup, security, replication 1 – 4 years ₹5 – ₹14 LPA Data Engineer MySQL + Python + ETL + cloud basics 2 – 5 years ₹7 – ₹20 LPA Business Analyst SQL + business domain knowledge 1 – 4 years ₹4 – ₹12 LPA Senior DBA / DB Architect Full MySQL stack + replication + partitioning 5+ years ₹15 – ₹30 LPA Every single role in this table lists MySQL or SQL as a core requirement. The entry-level positions are genuinely accessible within three to six months of structured learning. The mid and senior roles become reachable as you combine MySQL expertise with one or two complementary skills. What freshers can realistically expect Fresh graduates often worry that employers will not consider them without prior work experience. In the database world, this concern is less of a barrier than in many other tech areas — because SQL skills are directly demonstrable. A fresher who can sit in front of a computer during an interview, write a correct JOIN query, design a normalised table schema, and explain what an index does — that person gets hired. The skill is observable in real time. You do not need a portfolio of deployed projects the way a frontend developer might. You need to demonstrate that you can actually work with databases. What gives freshers a genuine edge in 2026: A MySQL certification from Oracle signals that your knowledge has been tested to a formal standard. Recruiters who see it on a resume pay attention. Practice projects — a student management system, an inventory database, a simple e-commerce schema — show that you have applied the theory to something real. Knowledge of one pairing skill — MySQL combined with Python, or MySQL combined with Power BI, makes you significantly more hirable than MySQL alone. SQL developer salary in India — city-wise breakdown Salaries vary considerably by city and company type. Here is a realistic picture for 2026: City Fresher (0–1 yr) Mid-Level (2–4 yrs) Senior (5+ yrs) Bengaluru ₹4 – ₹7 LPA ₹8 – ₹18 LPA ₹20 – ₹35 LPA Hyderabad ₹3.5 – ₹6.5 LPA ₹7 – ₹16 LPA ₹18 – ₹30 LPA Pune ₹3.5 – ₹6 LPA ₹7 – ₹15 LPA ₹16 – ₹28 LPA Mumbai ₹4 – ₹7 LPA ₹8 – ₹17 LPA ₹18 – ₹32 LPA Delhi / NCR ₹3.5 – ₹6.5 LPA ₹7 – ₹15 LPA ₹16 – ₹28 LPA Lucknow ₹2.5 – ₹5 LPA ₹5 – ₹10 LPA ₹10 – ₹18 LPA Other Tier 2 Cities ₹2 – ₹4.5 LPA ₹4 – ₹9 LPA ₹8 – ₹15 LPA Lucknow’s tech sector has grown significantly over the past few years. IT services companies, fintech startups, healthcare technology firms, and e-commerce operations are all hiring SQL-skilled professionals locally — meaning you do not have to relocate to a metro city to start your database career. The MySQL career roadmap — phase by phase This is the realistic, step-by-step path from learning MySQL to building a career with it. Phase 1 — Foundation (Month 1 to 2) Install MySQL and Workbench. Learn SQL fundamentals: SELECT, INSERT, UPDATE, DELETE, WHERE, ORDER BY, GROUP BY. Understand data types, tables, and basic database concepts. By the end of this phase, you should be writing useful single-table queries confidently. Phase 2 — Core Skills (Month 2 to 3) Master SQL joins — INNER JOIN, LEFT JOIN, RIGHT JOIN. Learn subqueries, CTEs, and aggregate functions. Understand database design basics: primary keys, foreign keys, normalization to 3NF. Build your first complete database project from scratch. Phase 3 — Intermediate to Advanced (Month 3 to 5) Learn stored procedures, triggers, transactions, and ACID properties. Understand indexing deeply — B-Tree indexes, composite indexes, covering indexes. Practice using EXPLAIN to analyse and optimise query performance. Build two or three project databases of increasing complexity. Phase 4 — Specialise and Certify (Month 5 to 6) Choose a pairing skill based on your career direction. For development: add PHP or
Explore More